A while back, I bought an open-box M4 Mac mini with 32GB of RAM and 256GB of storage. The plan was to use it as a small always-on box for offloading work and running autonomous coding agents around the clock.
The storage was obviously tight, but by then the 32GB models were officially sold out, and a few days later - delisted, so I figured I would just manage the disk carefully.
That optimism lasted about five minutes.
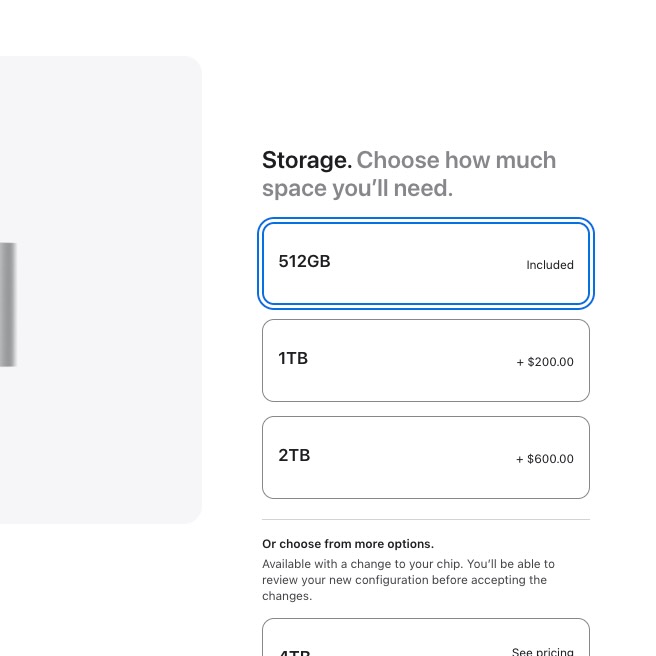
The recommended setup for running a macOS VM for Xcode and computer-use workflows is roughly 4 CPUs, 16GB of RAM, and 200-250GB of storage. On a 256GB host, that is most of the internal drive before doing anything interesting. The RAM situation is not luxurious either: the host wants its share, the VM wants its share, and whatever remains is what Linux VMs and agents get to fight over.
So I knew I needed more storage, at least.
At first I found a new, unused upgrade module on Facebook Marketplace for $180. That seemed reasonable compared with the $300-ish new options, which were also sold out everywhere. The listing was old, though. I messaged the seller, got no response, and two days later it was marked sold.
Then, a few days later, I saw a newly listed 1TB module on eBay for $100.
The eBay listing
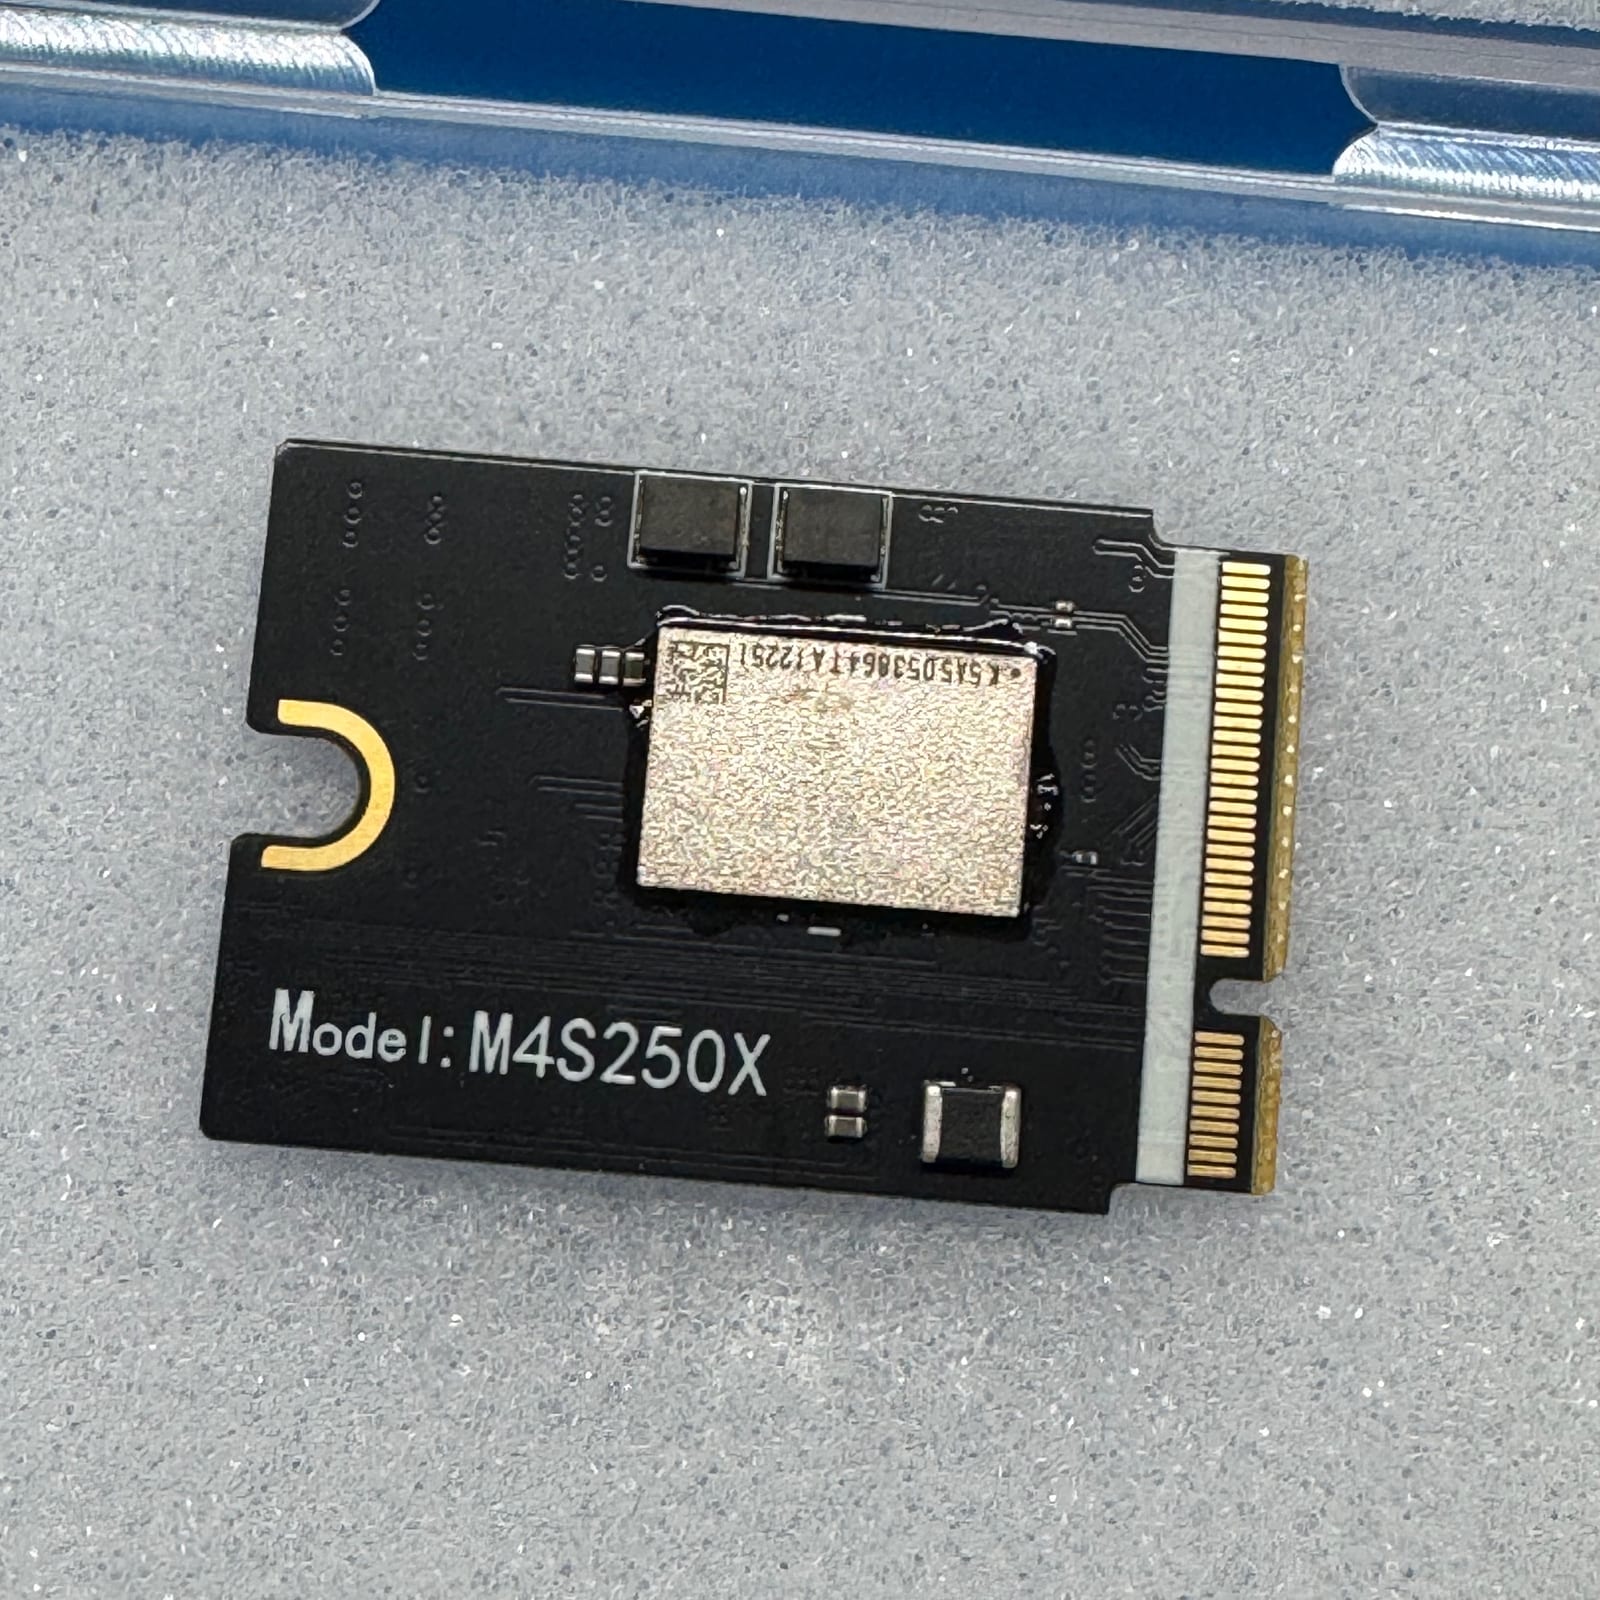
There was almost no useful information. The visible model number was M4S250X, which produced basically no search results except a German forum thread where a few people said “it worked.” This was exactly the kind of listing where “too good to be true” starts playing in your head. To make matters worse, the seller did not accept returns.
eBay’s money-back guarantee applied, though, and the seller had 100% positive feedback across 75 sold items.
After about ten minutes of deliberation, I bought it. At that point, I knew it was going to have to earn my trust the hard way.
What showed up
The module arrived quickly. It was still in its original packaging, with a USPS label slapped on top. Next to it was the original label from m4-ssd.com, identifying the model as M4S2501.
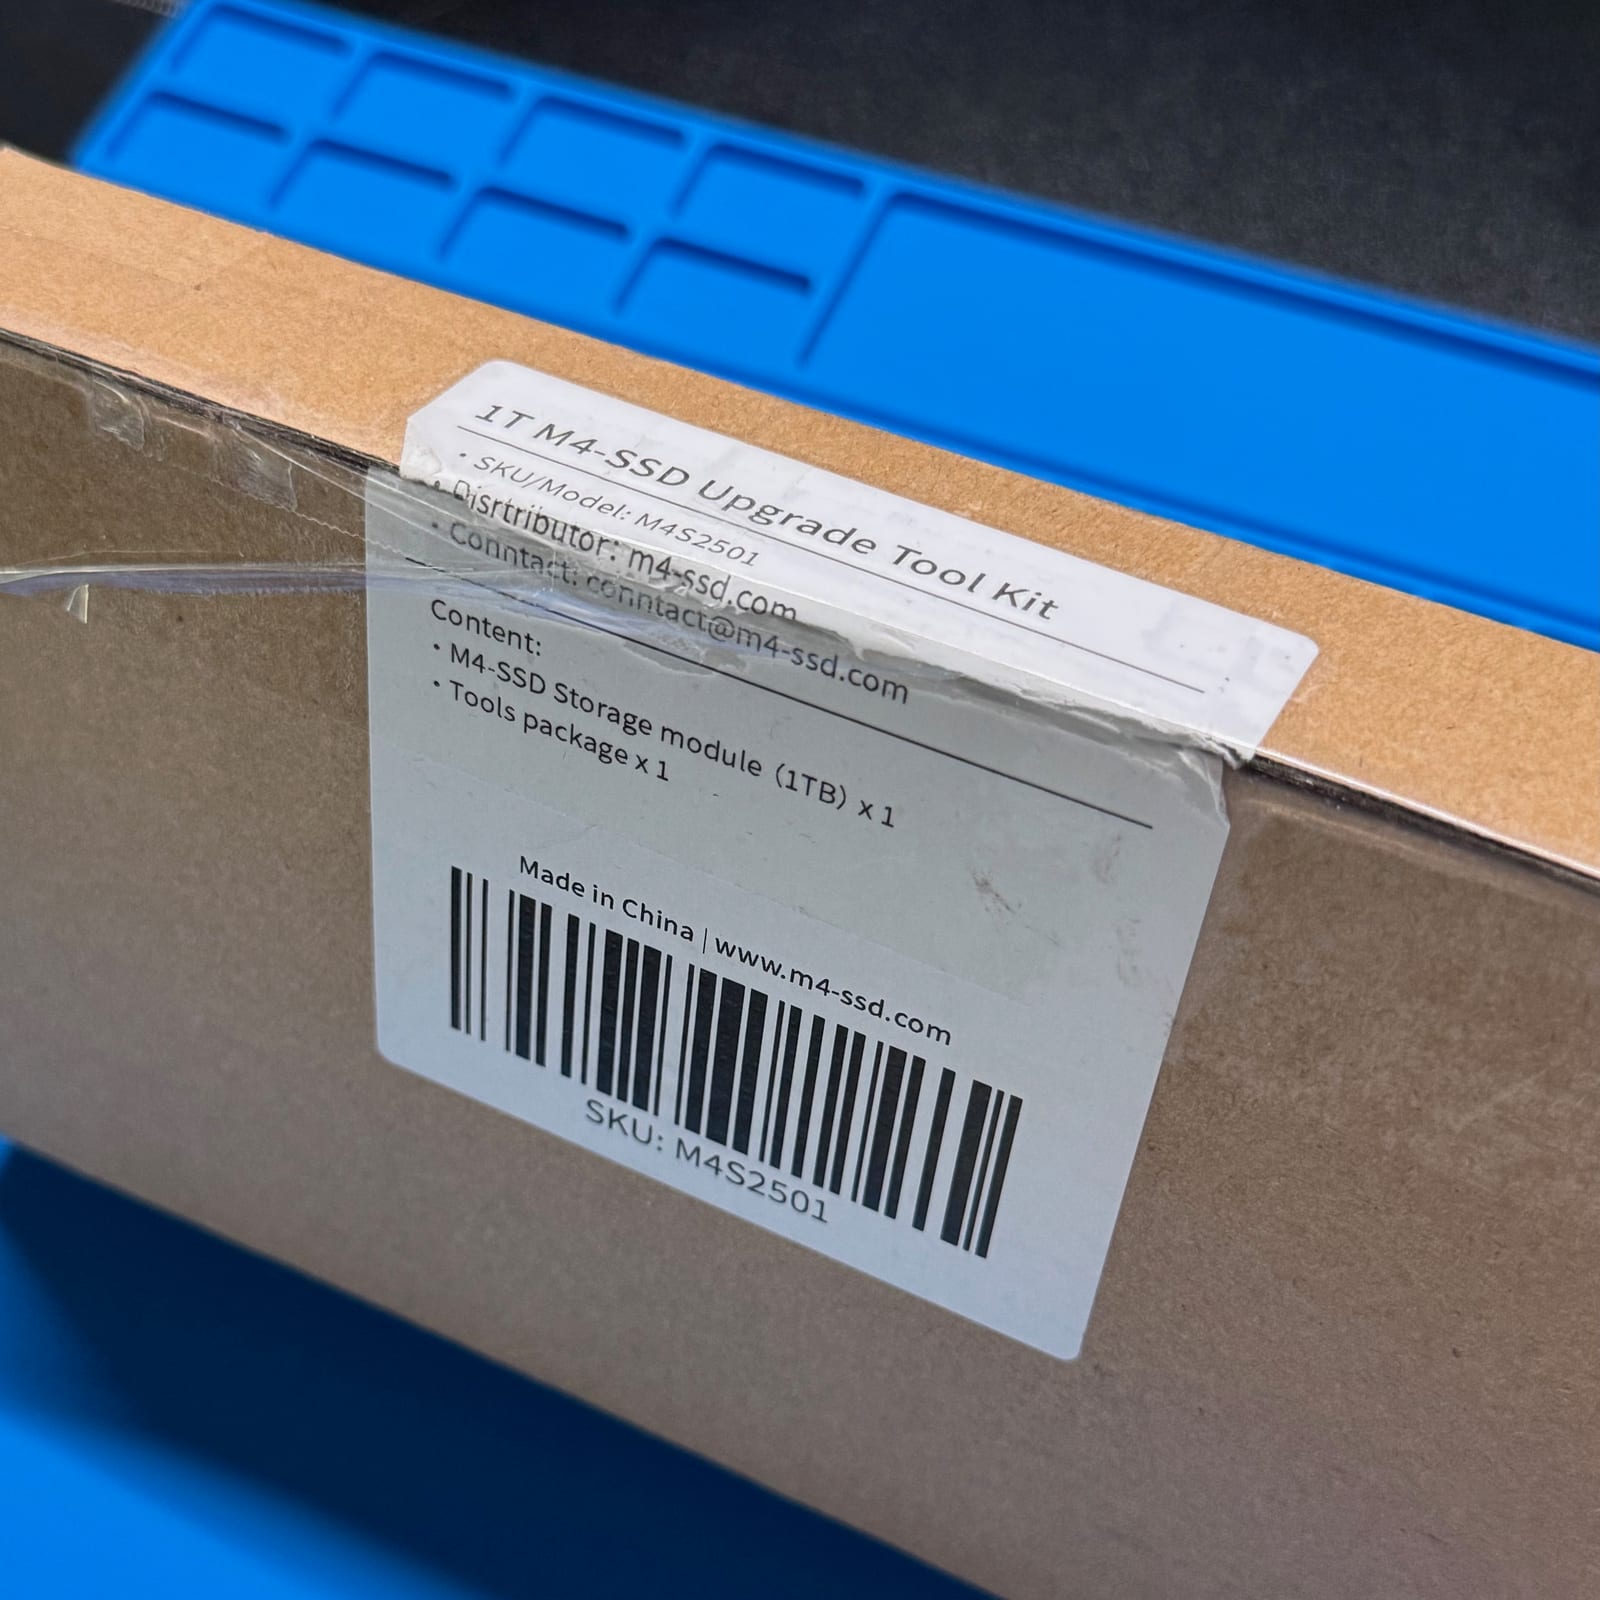
That was at least mildly reassuring. It came from one of the more visible third-party Mac mini SSD sellers, not from a completely anonymous parts bin.
The module itself was less reassuring. It had that “is this missing parts?” look and felt suspiciously light - much lighter than Apple’s original module. There were no scratches or obvious signs of prior installation, so it did appear unused. Still, the plan remained the same: install it, restore macOS, then hammer it with tests before trusting it.
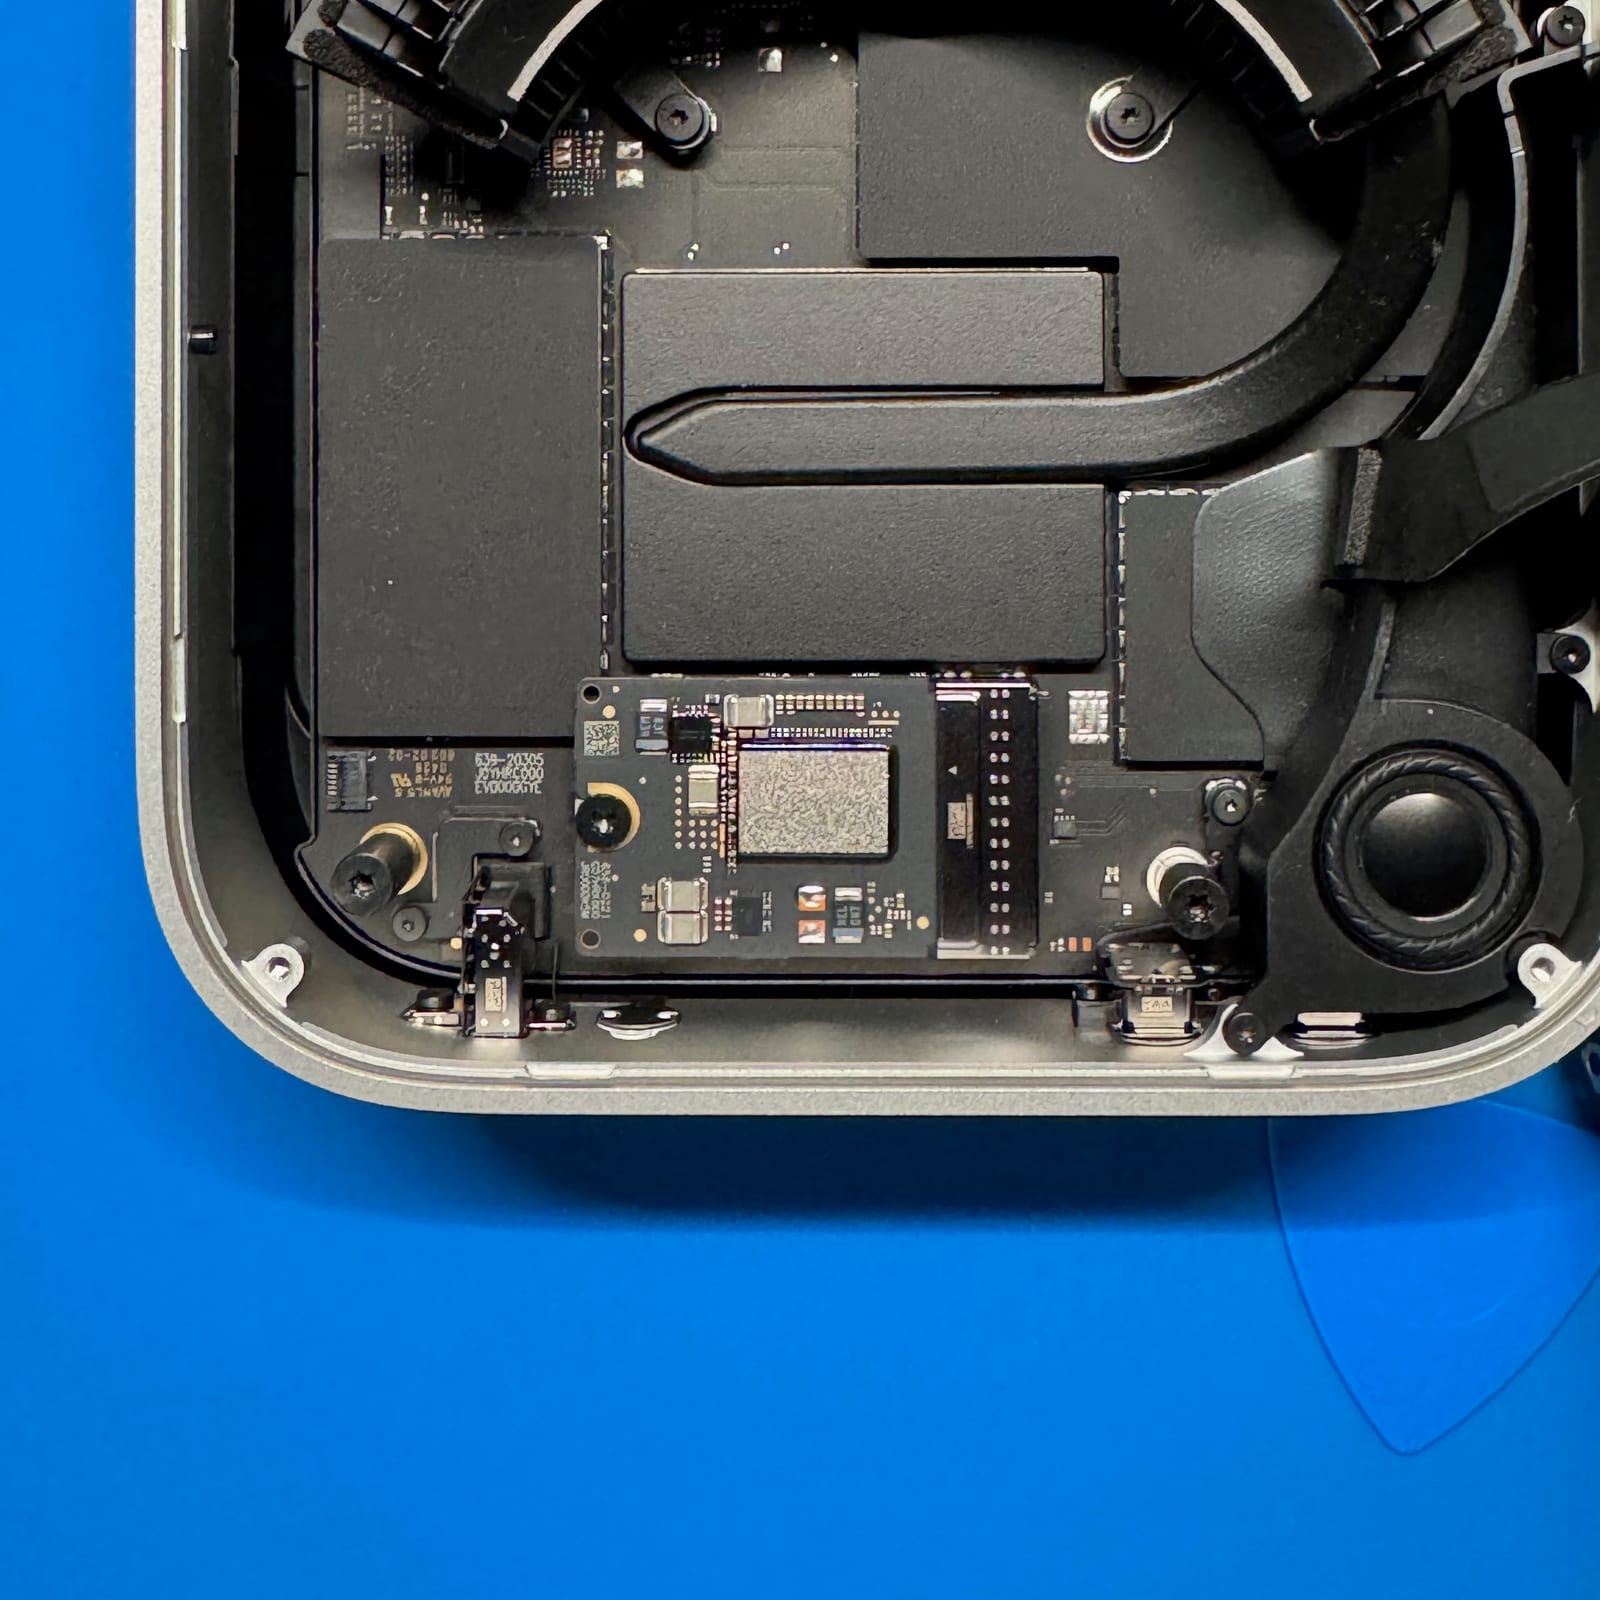
One important technical detail: the M4 Mac mini’s storage module is removable, but it is not a normal M.2 SSD. Apple integrates the storage controller into the Apple silicon SoC, so these modules are proprietary NAND modules rather than standard SSDs you can swap freely.
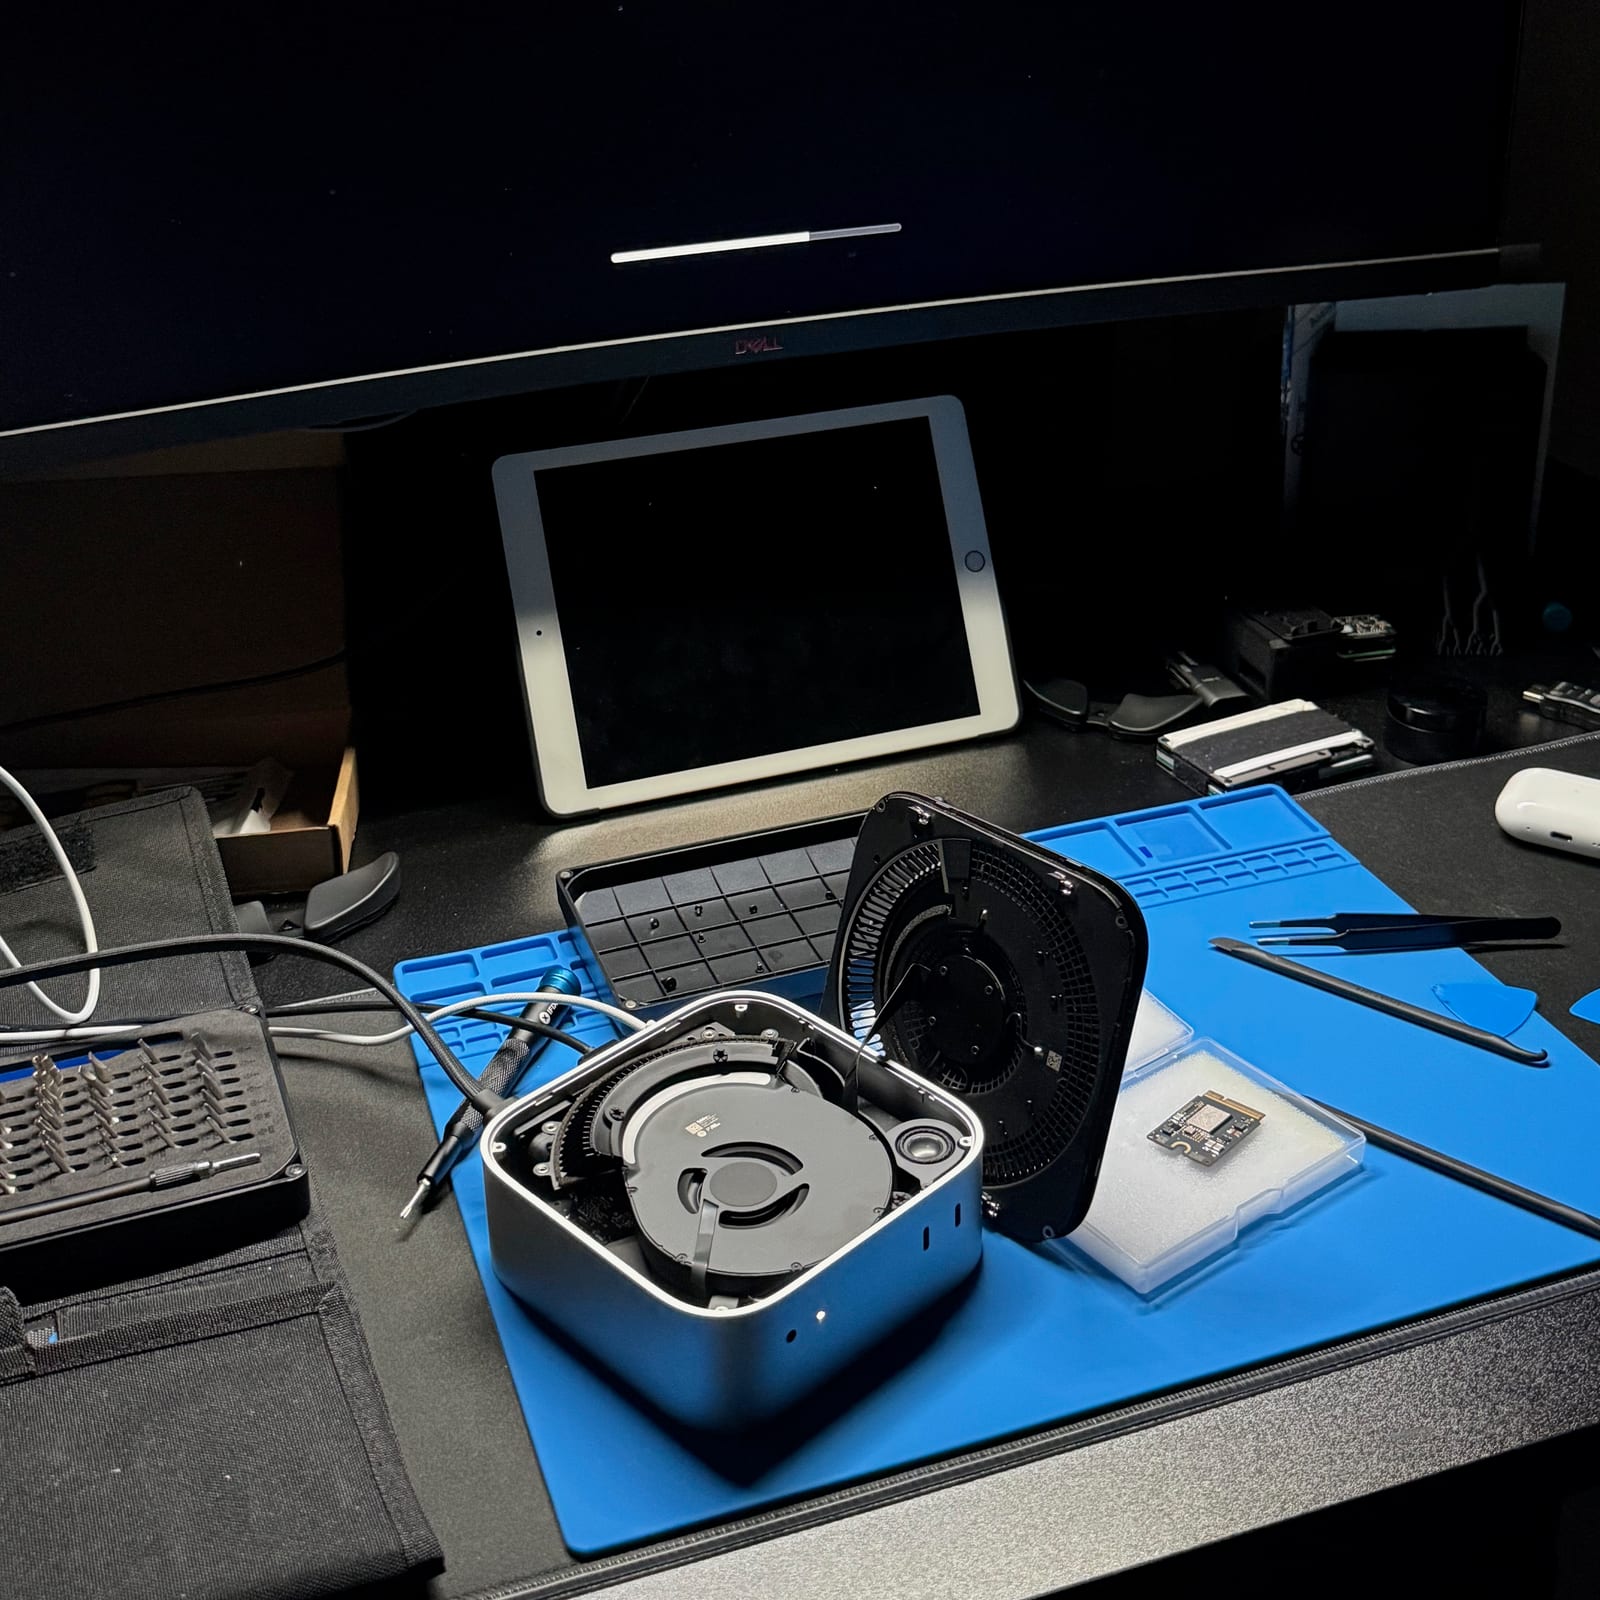
Installation
I followed iFixit’s M4 Mac mini SSD replacement guide. The disassembly was straightforward, and the iFixit tools did their job.
For the plastic bottom cover, I used the alternative approach: insert a plastic spudger into the vent holes, gently lift, then slide a blue opening pick into the gap. The bottom is held by four corner clips.
Once inside, I avoided disconnecting the power-button cable. The guide warns that it is fragile, and there is no real need to remove it if you can prop the cover safely to the side.
The inner plate and fan were uneventful. I did disconnect and remove the fan the first time, but later realized that even that was not strictly necessary for quick testing. It can be moved aside carefully.
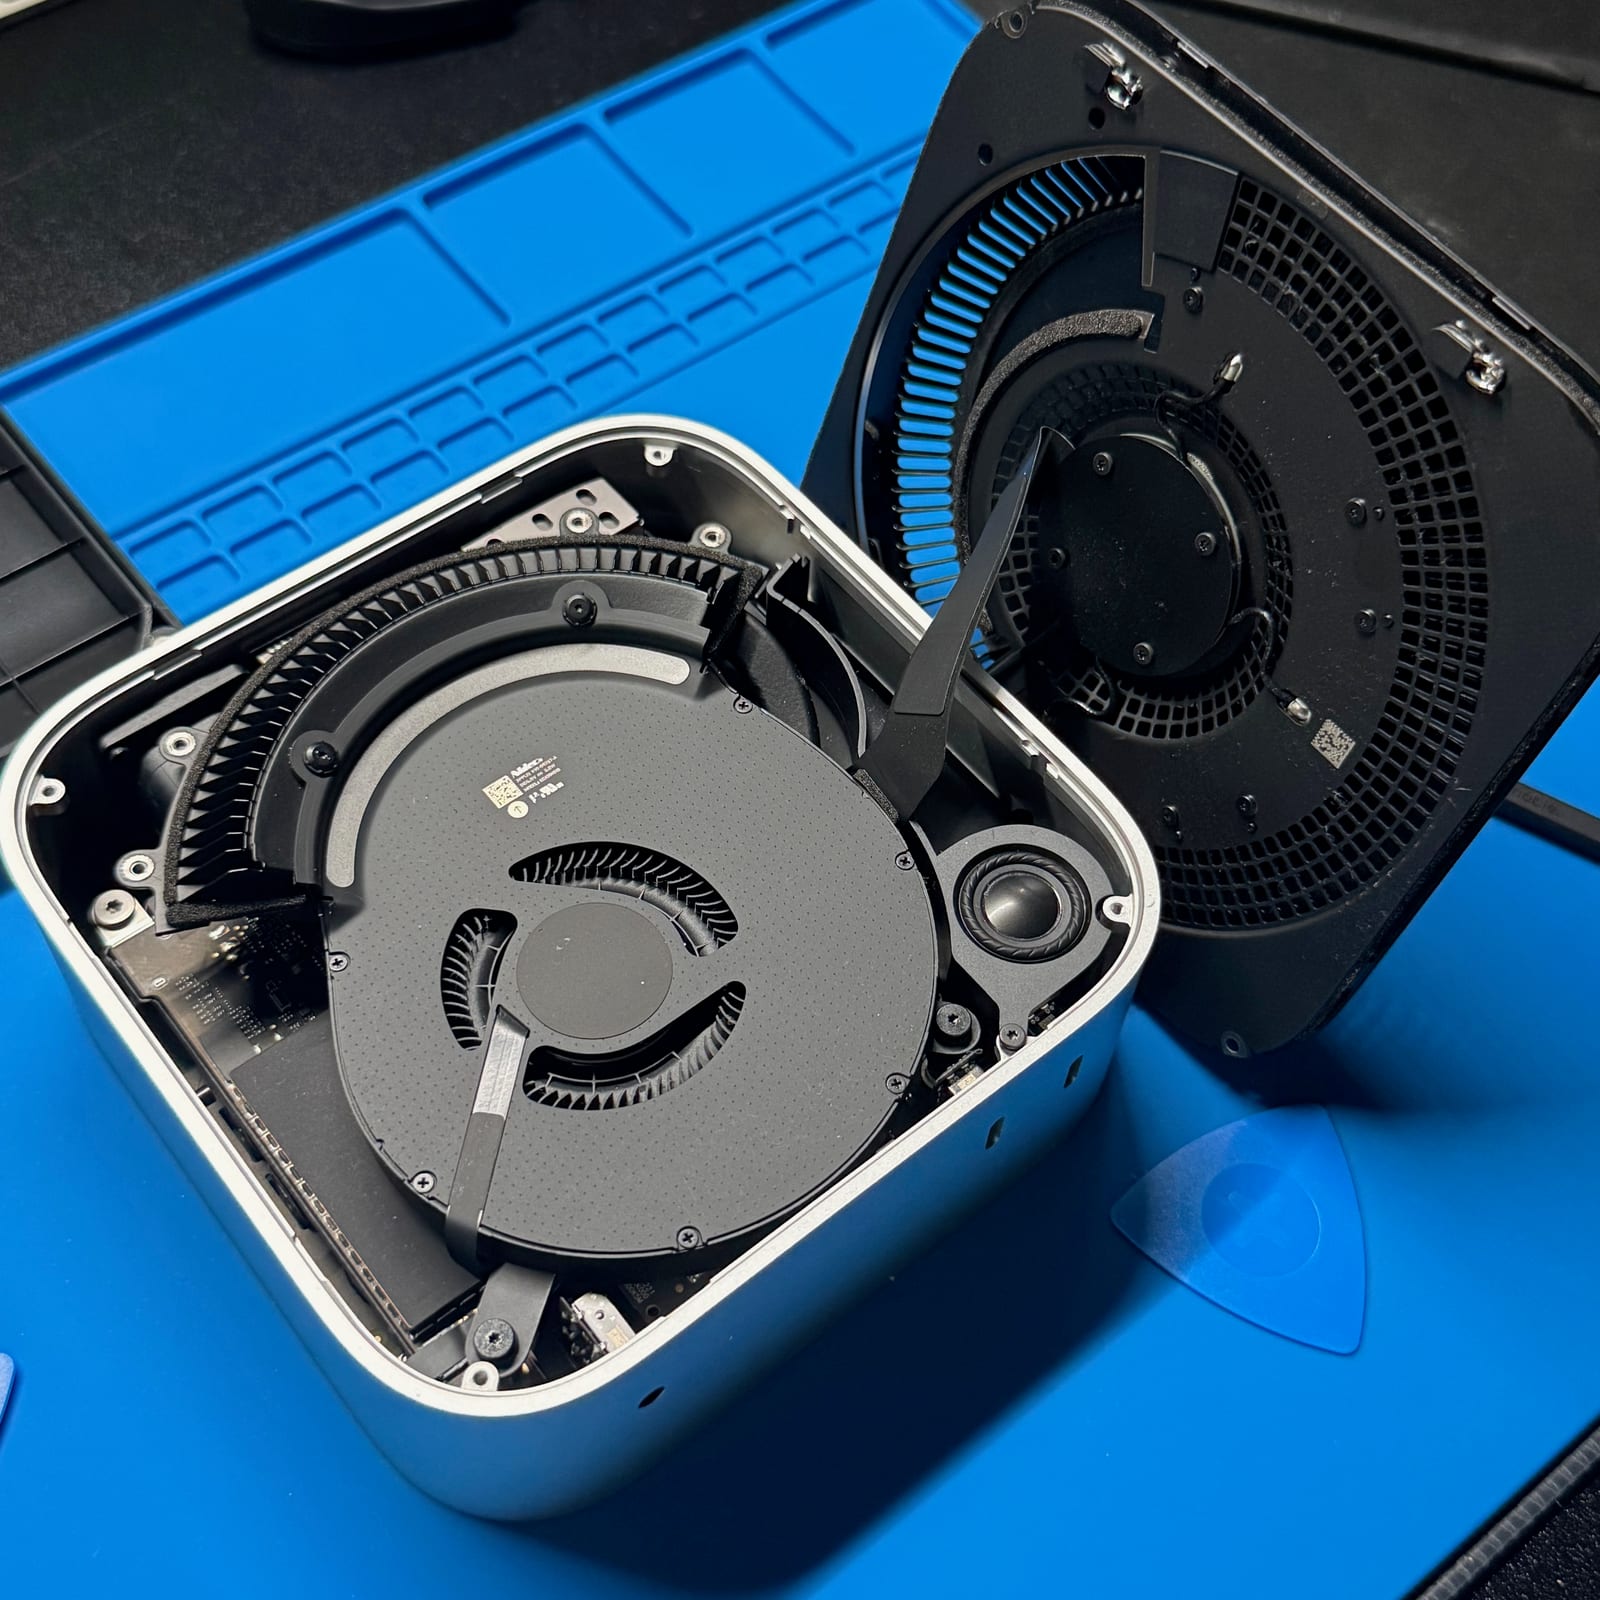
The storage module itself was easy: remove one screw, pull the old module out, seat the new one, screw it down.
Mechanically, the upgrade felt almost too simple.
The hard part came next.
DFU restore
After replacing the module, the Mac mini needs to be restored from another Mac using DFU (Device Firmware Update) mode. I used my trusty M1 Max MBP, still going strong after 3.5 years.
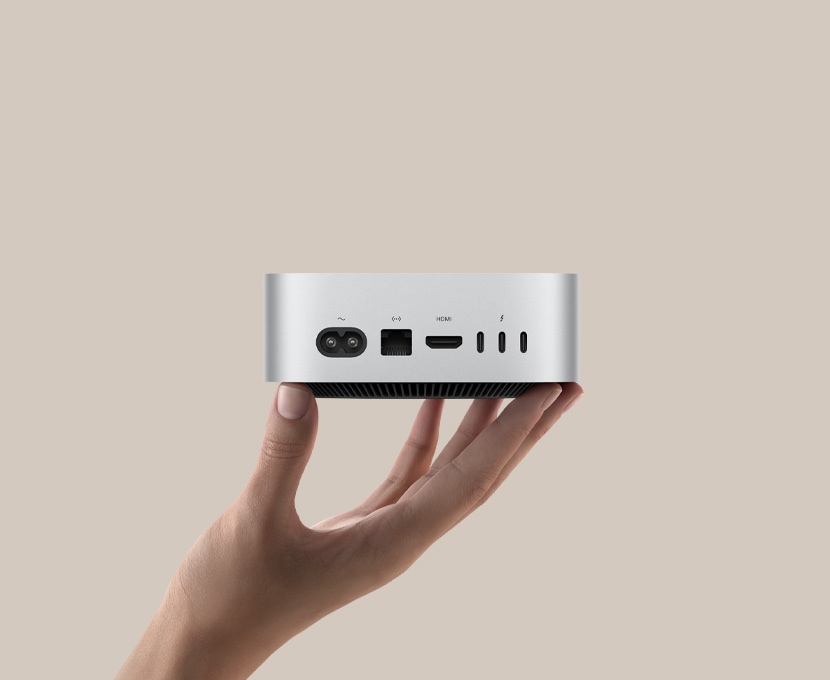
Apple’s desktop DFU process is a little specific. The target Mac needs a cable connected to its DFU port. On the M4 Mac mini, that is the back middle port with the thunderbolt icon above it. Then unplug the target Mac, press and hold the power button while reconnecting power, and keep holding until the other Mac sees it in DFU mode.
The host Mac can use any USB-C port, so I focused mostly on the Mac mini side: the DFU port, the cable, the SSD, the fan connector. My MBP was sitting in its normal desk setup, powered through a TB4 hub. That detail becomes relevant later.
The Mac mini appeared in Finder almost immediately. I clicked restore. macOS downloaded and unpacked the required software. Things looked normal.
Then, after more than 15 minutes, the first “uh oh” moment popped up:
4041 - The system cannot be restored on this deviceI swapped cables and ports and tried again:
4042 - The system cannot be restored on this deviceNot good. A mystery SSD from eBay failing restore is exactly the outcome you expect when you buy a mystery SSD from eBay.
I reopened the Mac mini to check the obvious things: was the module fully seated, was the fan connected, had I damaged something? Everything looked fine. I asked Codex to capture and watch the restore logs while I tried again.
After a third failed attempt, I decided this was going nowhere and I should probably return the module as “not working.” I reinstalled the original Apple 256GB module and left the Mac mini open just in case.
Then the original SSD failed DFU restore too. That was the real panic moment.
At that point the likely story changed. Maybe the eBay module was fine. Maybe I had damaged a connector. Maybe the Mac was now in some half-restored state. Maybe I was about to find out how Apple feels about warranty service on a machine I had clearly opened.
The first useful realization was that 4041 and 4042 errors did not look like immediate DFU failures. The host Mac was able to prepare the restore, transfer it to the Mac mini, and then wait for the Mac mini to come back. Apple’s restore flow expects the affected Mac to restart automatically when the restore completes. In my case, the host seemed to hit a hard timeout waiting for the Mac mini instead, then declared the restore failed.
More importantly, Codex kept circling back to boring connection problems: wrong DFU port, flaky USB path, possible instability, cable issues. I ignored it at first. Then it clicked: my MBP was connected to, and powered by, a TB4 hub. Maybe the DFU process was getting confused by the wrong USB data path?
I disconnected the hub, powered the laptop directly, and put the third-party SSD back in. A bit optimistic, but my gut feeling was that the hub was the issue.
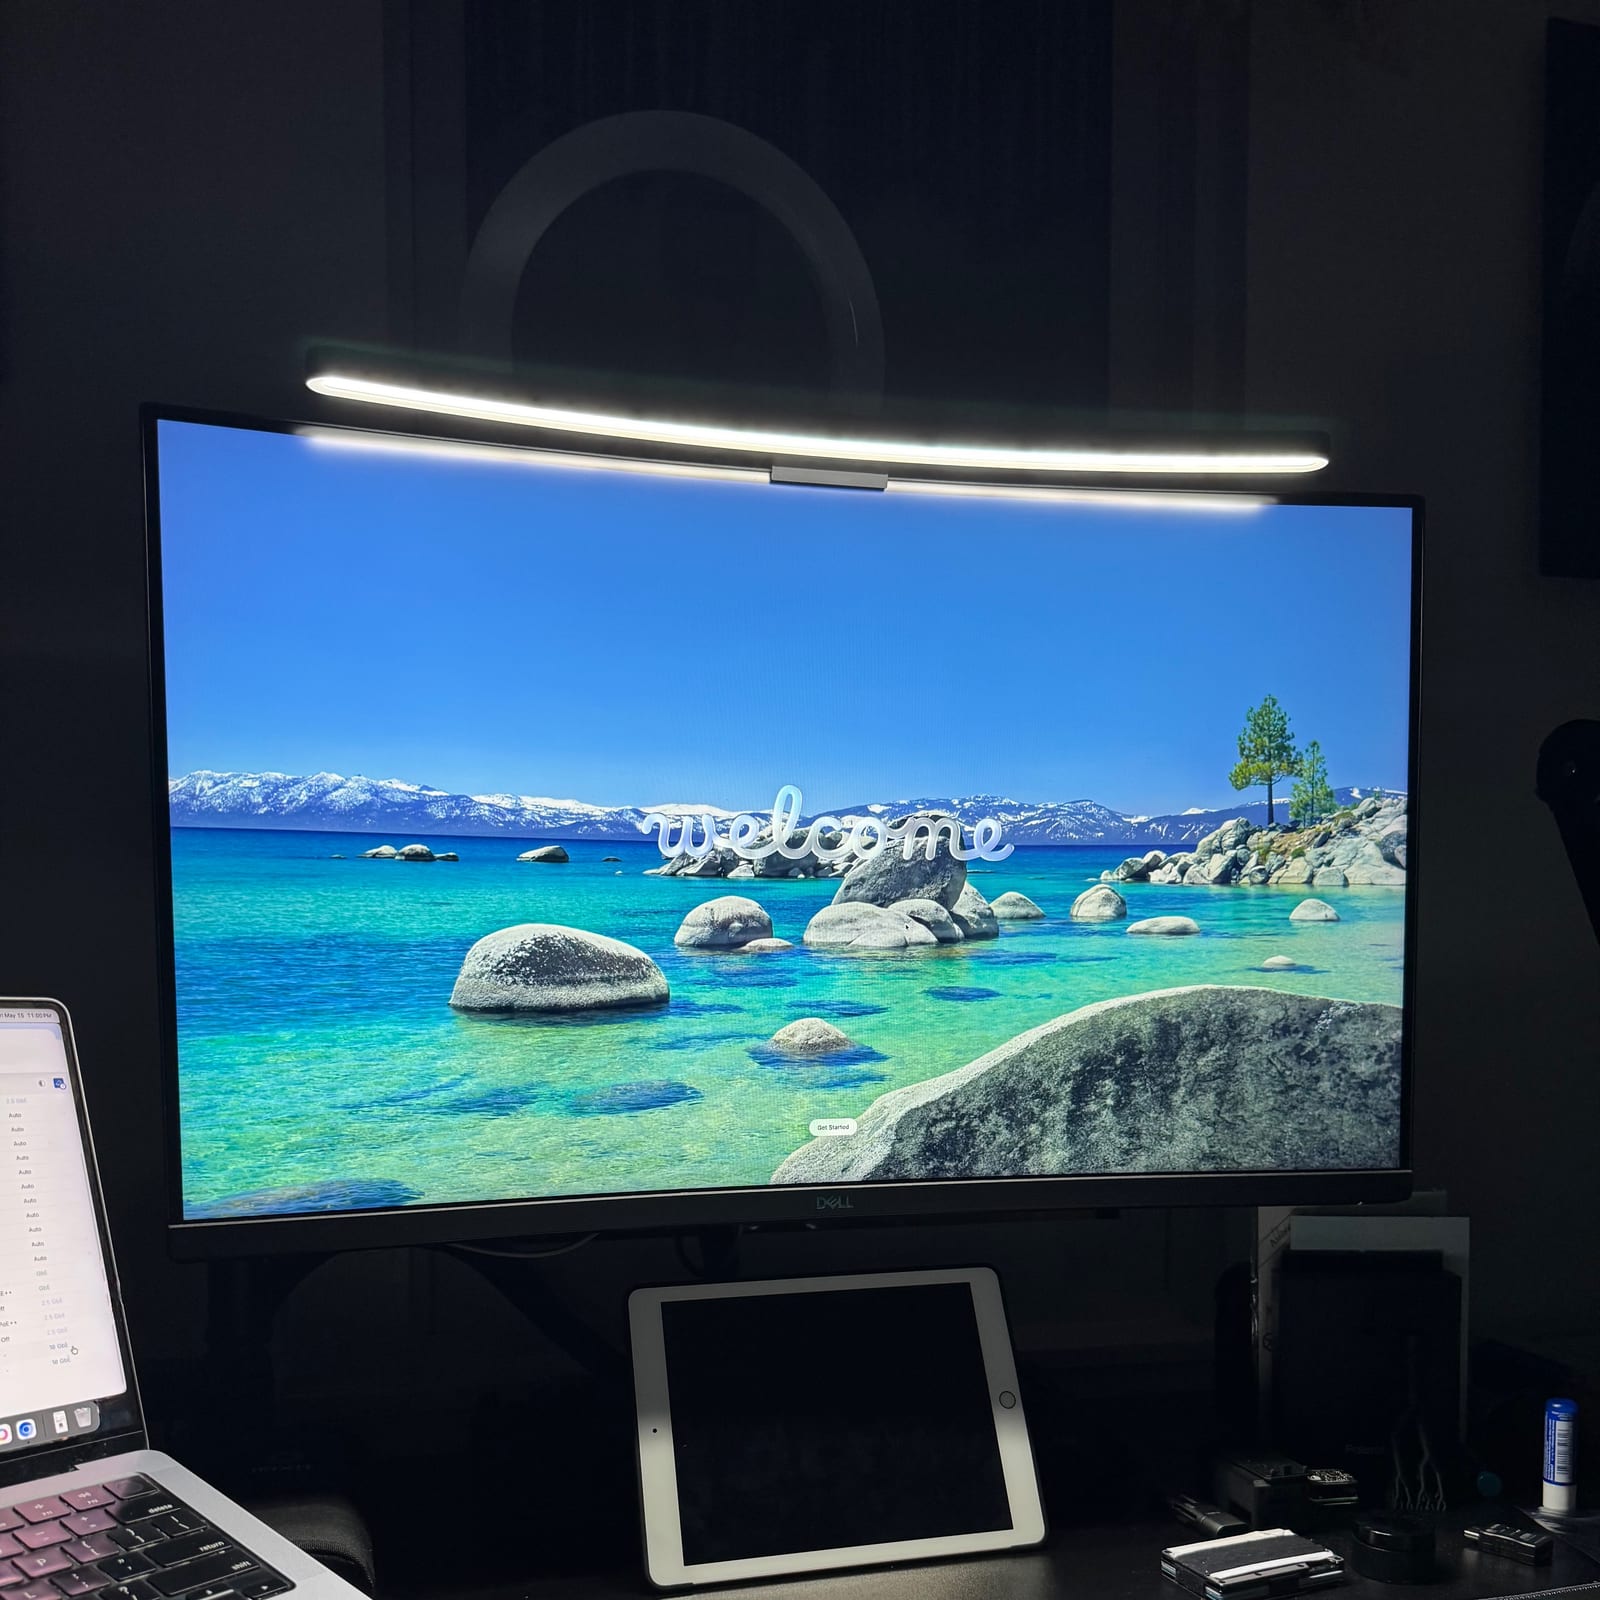
Lo and behold, the DFU process started moving. After the handoff, the status changed, progress started reporting, and because the Mac mini was connected to a monitor over HDMI, I saw the Apple logo. What a relief.
The restore completed. The Mac booted. The mystery SSD was alive.
Testing
The test plan was simple:
- Capture baseline logs after restore.
- Confirm macOS saw the module as internal storage.
- Write a large amount of data.
- Hash it.
- Verify it immediately.
- Let it sit overnight.
- Verify it again.
- Run a sequential read/write sanity check.
- Run a multi-file write/hash test.
- Run a small-file workload.
- Reboot several times.
- Sleep and wake several times.
- Run APFS verification before and after.
macOS reported the module as internal Apple NVMe storage:
Model: APPLE SSD AP1024Z
Capacity: 1 TB, 1,000,555,581,440 bytes
TRIM support: yes
SMART status: verified
The kernel storage log had the more interesting line:
S5E A0 Toshiba 5th Gen Lithography tlc 3D 2 plane 1024GBThat was one of the more useful pieces of information from the whole experiment. The module presented cleanly to macOS, and the driver exposed what appears to be the underlying NAND description.
For the capacity test, I wrote 72 files of 10GiB each, about 720GiB total. Overnight verification checked all 72 files again. All 72 passed.
The sequential sanity check used a 100GiB file:
Write: 107374182400 bytes in 44.483452 sec, about 2.41 GB/s
Read:  107374182400 bytes in 32.460825 sec, about 3.31 GB/s
The multi-file test wrote four 40GiB files and verified all four by SHA-256. All four passed.
The small-file workload created and verified a tar archive. That passed too.
I also captured five post-reboot observations and five post-wake observations. The module continued to appear normally every time.
APFS verification passed before and after the test set, with file-system check exit code 0.
Good enough.
Verdict
This one’s a keeper. I hope it continues running without drama, but the original Apple SSD is staying on the shelf just in case.
This was an interesting and thankfully successful experiment, but I understand why people pay Apple for storage upfront. A $100 1TB Mac mini SSD upgrade is a great deal, and I would do it again. Much above that, the savings stop being worth the time, uncertainty, and troubleshooting, and I would just buy the Mac with enough storage from the start.
The main lessons: keep the restore path simple, and do the storage math before buying parts. Use a direct cable, the correct DFU port, and no unnecessary USB peripherals. Apple’s 512GB to 1TB upgrade is only $200, so third-party modules do not make sense unless you find a serious deal.